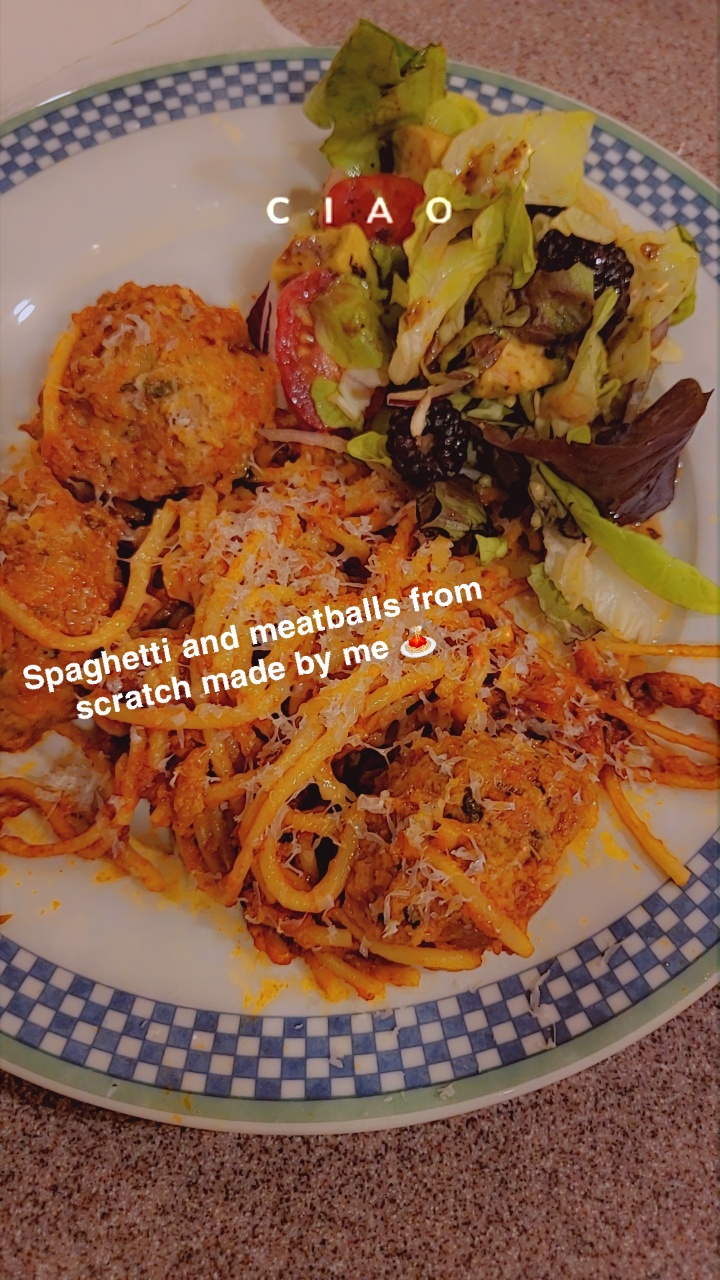
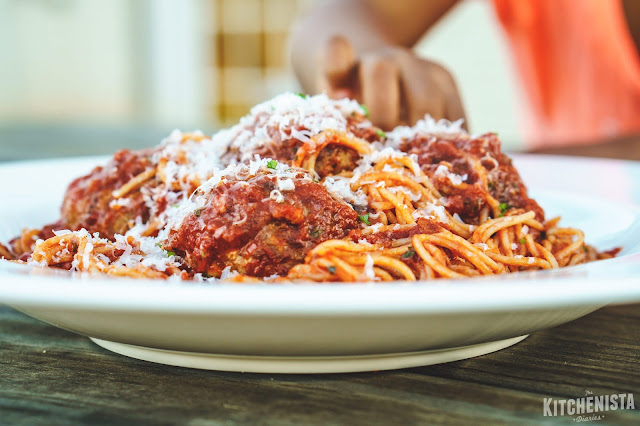
Good afternoon! How are you doing today? Have you been following everything my sister Beyoncé is doing? Well, I actually had a craving for some spaghetti and meatballs, came across this Beyoncé post and decided to make the best spaghetti I’ve ever had from the Kitchenista’s (Angela Davis’) recipe.
So, here goes! Happy cooking!
Some notes on the recipe and substitutions, before we get down to business:
- If you buy your ground meat from the counter, it’s easier to ask for the exact amount you need. Otherwise, you’re typically stuck with buying 1 pound or more at a time, pre-packaged. (When I’m in that predicament I just freeze my extra ground meat, or make more meatballs.)
- If you can’t find veal, use additional beef or pork. But they’re so much better with veal!
- If you don’t eat pork at all, try ground lamb or ground turkey. Please get ground turkey thigh, and don’t try to make meatballs with super lean white meat. You can find it at Whole Foods. Turkey meatballs are not as succulent as the pork version, to me, but I do make them often for clients who enjoy them.
- Gluten-free bread crumbs behave completely differently when soaked with milk or stock, as this recipe calls for. The last time I attempted was disastrous and I wasn’t able to completely break up the clumps of breadcrumbs that formed. I’ve used ground oats in a pinch, which was moderately successful. I welcome your gluten-free modifications in the comments if you try my recipe out! (For a good gluten-free pasta, my clients like the Jovial brand.)
- San Marzano tomatoes are usually worth the extra couple dollars to me in sauces, but lately I’ve been trying domestic tomatoes. I liked San Merican’s tomato puree, despite their questionable marketing which tricked me into thinking I was buying San Marzanos.
- I do use a tomato puree here, because I liked the consistency of the finished sauce. If you want a chunkier sauce, by all means, start with whole tomatoes and just crush them in the pot.
- Use real parm, not the green can. A small wedge of Parmigiano Reggiano will set you back around $8, but lasts through several recipes. You can also save the rinds and simmer them in stocks, soups, and pasta sauces for more flavor.
- Practice smart food safety. Make sure to wash your hands immediately after any steps involving raw meat, and be extra vigilant cleaning up afterward.
Spaghetti & Meatballs
Ingredients for the spaghetti sauce:
Extra virgin olive oil, as needed
1 large onion, finely diced
Kosher salt, to taste
2 tbsp grated garlic (about 10 cloves)
1/2 tsp crushed red pepper
2 tbsp tomato paste
2 28-oz cans of tomato puree
2 tsp Italian herb seasoning
2 bay leaves
Several sprigs of fresh basil, divided
1/2 cup grated Parmigiano Reggiano
1 to 2 tsp sugar (optional)
Ingredients for the meatballs:
1 cup panko bread crumbs
1/2 cup buttermilk, milk, or stock
2 eggs
6 cloves garlic, grated
1 small onion, shredded on a box grater
1/4 cup minced Italian parsley
2 tsp Italian herb seasoning
2 tsp Kosher salt
1 tsp cracked black pepper
1 tsp crushed fennel seeds
2 tbsp tomato paste
1/2 cup gratedParmigiano Reggiano
3/4 lb ground beef (80/20 or 85/15)
3/4 lb ground pork
1/2 lb ground veal
Other ingredients:
1 lb dried spaghetti
Active Time: 1 hour
Total Time: 1 hour, 30 minutes
Yield:Makes about 3 dozen meatballs. Serves 6 to 8.
Special Equipment: You’ll need a Dutch oven or other heavy bottomed pot, another large pot for boiling pasta, a colander, heavy duty sheet pan, fine grater, and a box grater.
Part One: Spaghetti Sauce
I like to start the sauce first so that it can simmer away while I make the meatballs. To get started, warm your Dutch oven pot over medium heat. Coat the bottom of your pot with a generous amount of olive oil. When the oil shimmers, add the diced onions and a pinch of salt. Cook the onions until they are soft and starting to turn golden, about 10 minutes. Lower the heat if the onions start to brown too fast.
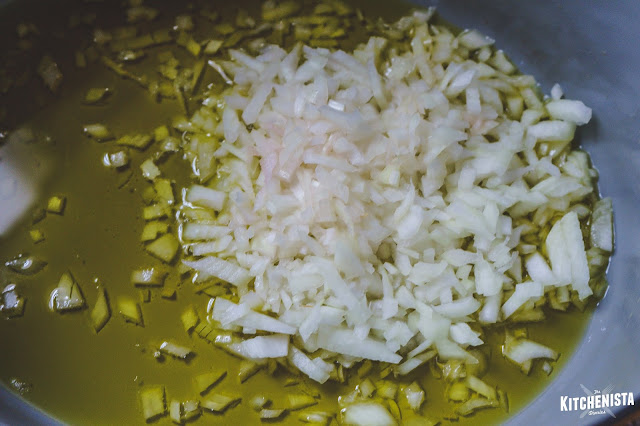
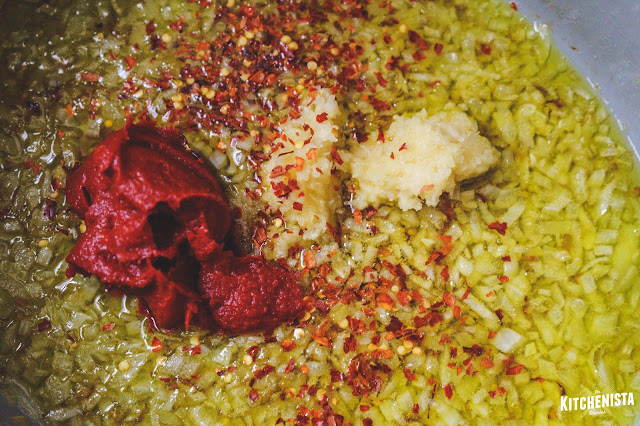
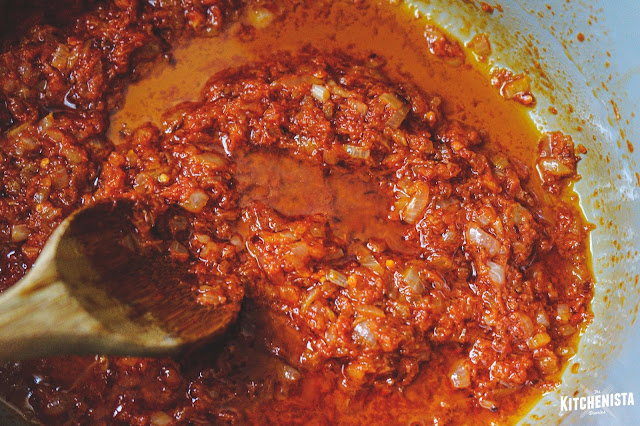
Stir in the grated garlic, red pepper, and tomato paste.
Cook this gorgeous mixture for a couple minutes, until the tomato paste has darkened.
Then pour in the tomato puree.
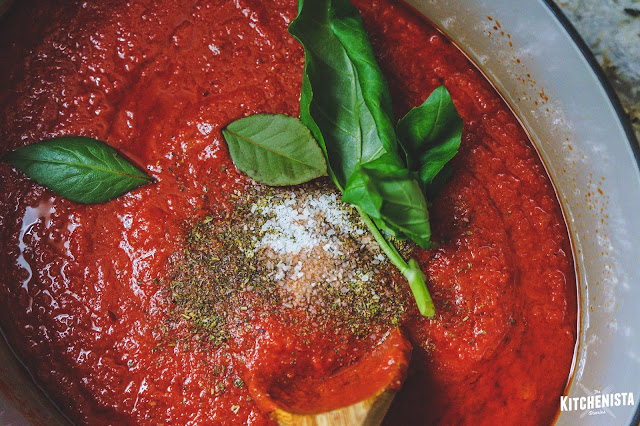
Throw in the bay leaves, a couple basil sprigs, the Italian seasoning, and a good pinch of salt.
Let the sauce simmer on low heat for twenty to thirty minutes, until it’s thickened slightly and flavors meld. Discard the bay leaves and basil. Tear up the rest of the basil and fold that in – I like the punch of freshness it adds. Stir in the grated parm. Season to taste with Kosher salt – just keep in mind you’ll be adding some of the salted pasta water later. If your sauce is too tangy, add a teaspoon or so of sugar to balance the acidity.
Cover the sauce and keep warm until needed. Give it a stir occasionally to prevent scorching.

Part Two: Meatballs
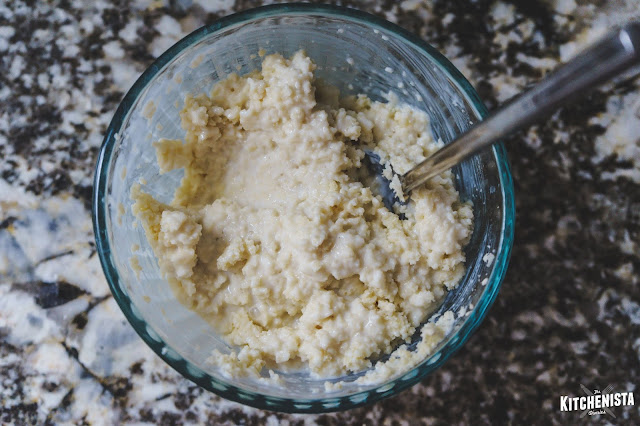
In a small dish, moisten the bread crumbs with milk or stock. You may not need all the liquid; use only what the bread crumbs absorb easily. Give it a stir and set aside.
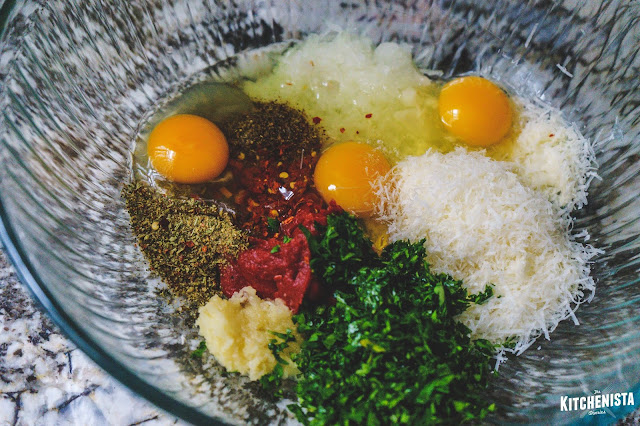
In a larger bowl, measure out all the other meatball ingredients, except for the meat. (I’ve got an extra egg in my photo because I made a larger batch here.) For the fennel seeds, you can crush them in a mortar & pestle, or in a spice grinder with the peppercorns. If you have none of that, you could crush them with a heavy can.
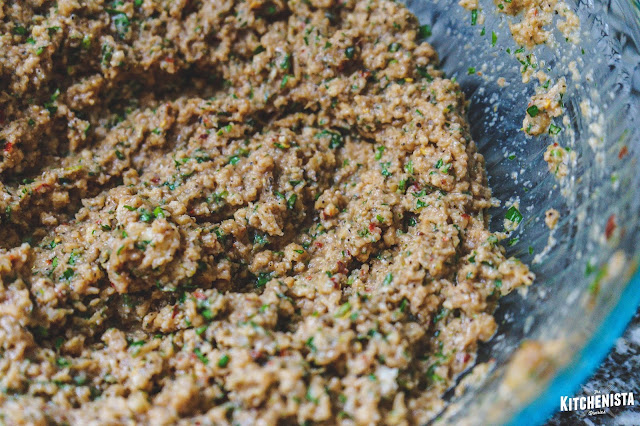
Stir all these ingredients together and then incorporate the bread crumbs. You want to mix this up really well so that no clumps of bread remain.
Then add your meat.

The next step might make some folks squeamish but you’ll survive. Use your hands to mix the meatball mixture. Really get in there and squeeze the meat through your fingers as you incorporate it with the breading. You want the three types of meat to be evenly blended with no pockets of bread crumbs.
Note: If you’d like, you can pinch some of this meatball mixture off and cook in a pan to test it out before proceeding. I do this if I’m changing my recipe up, to check the seasonings.

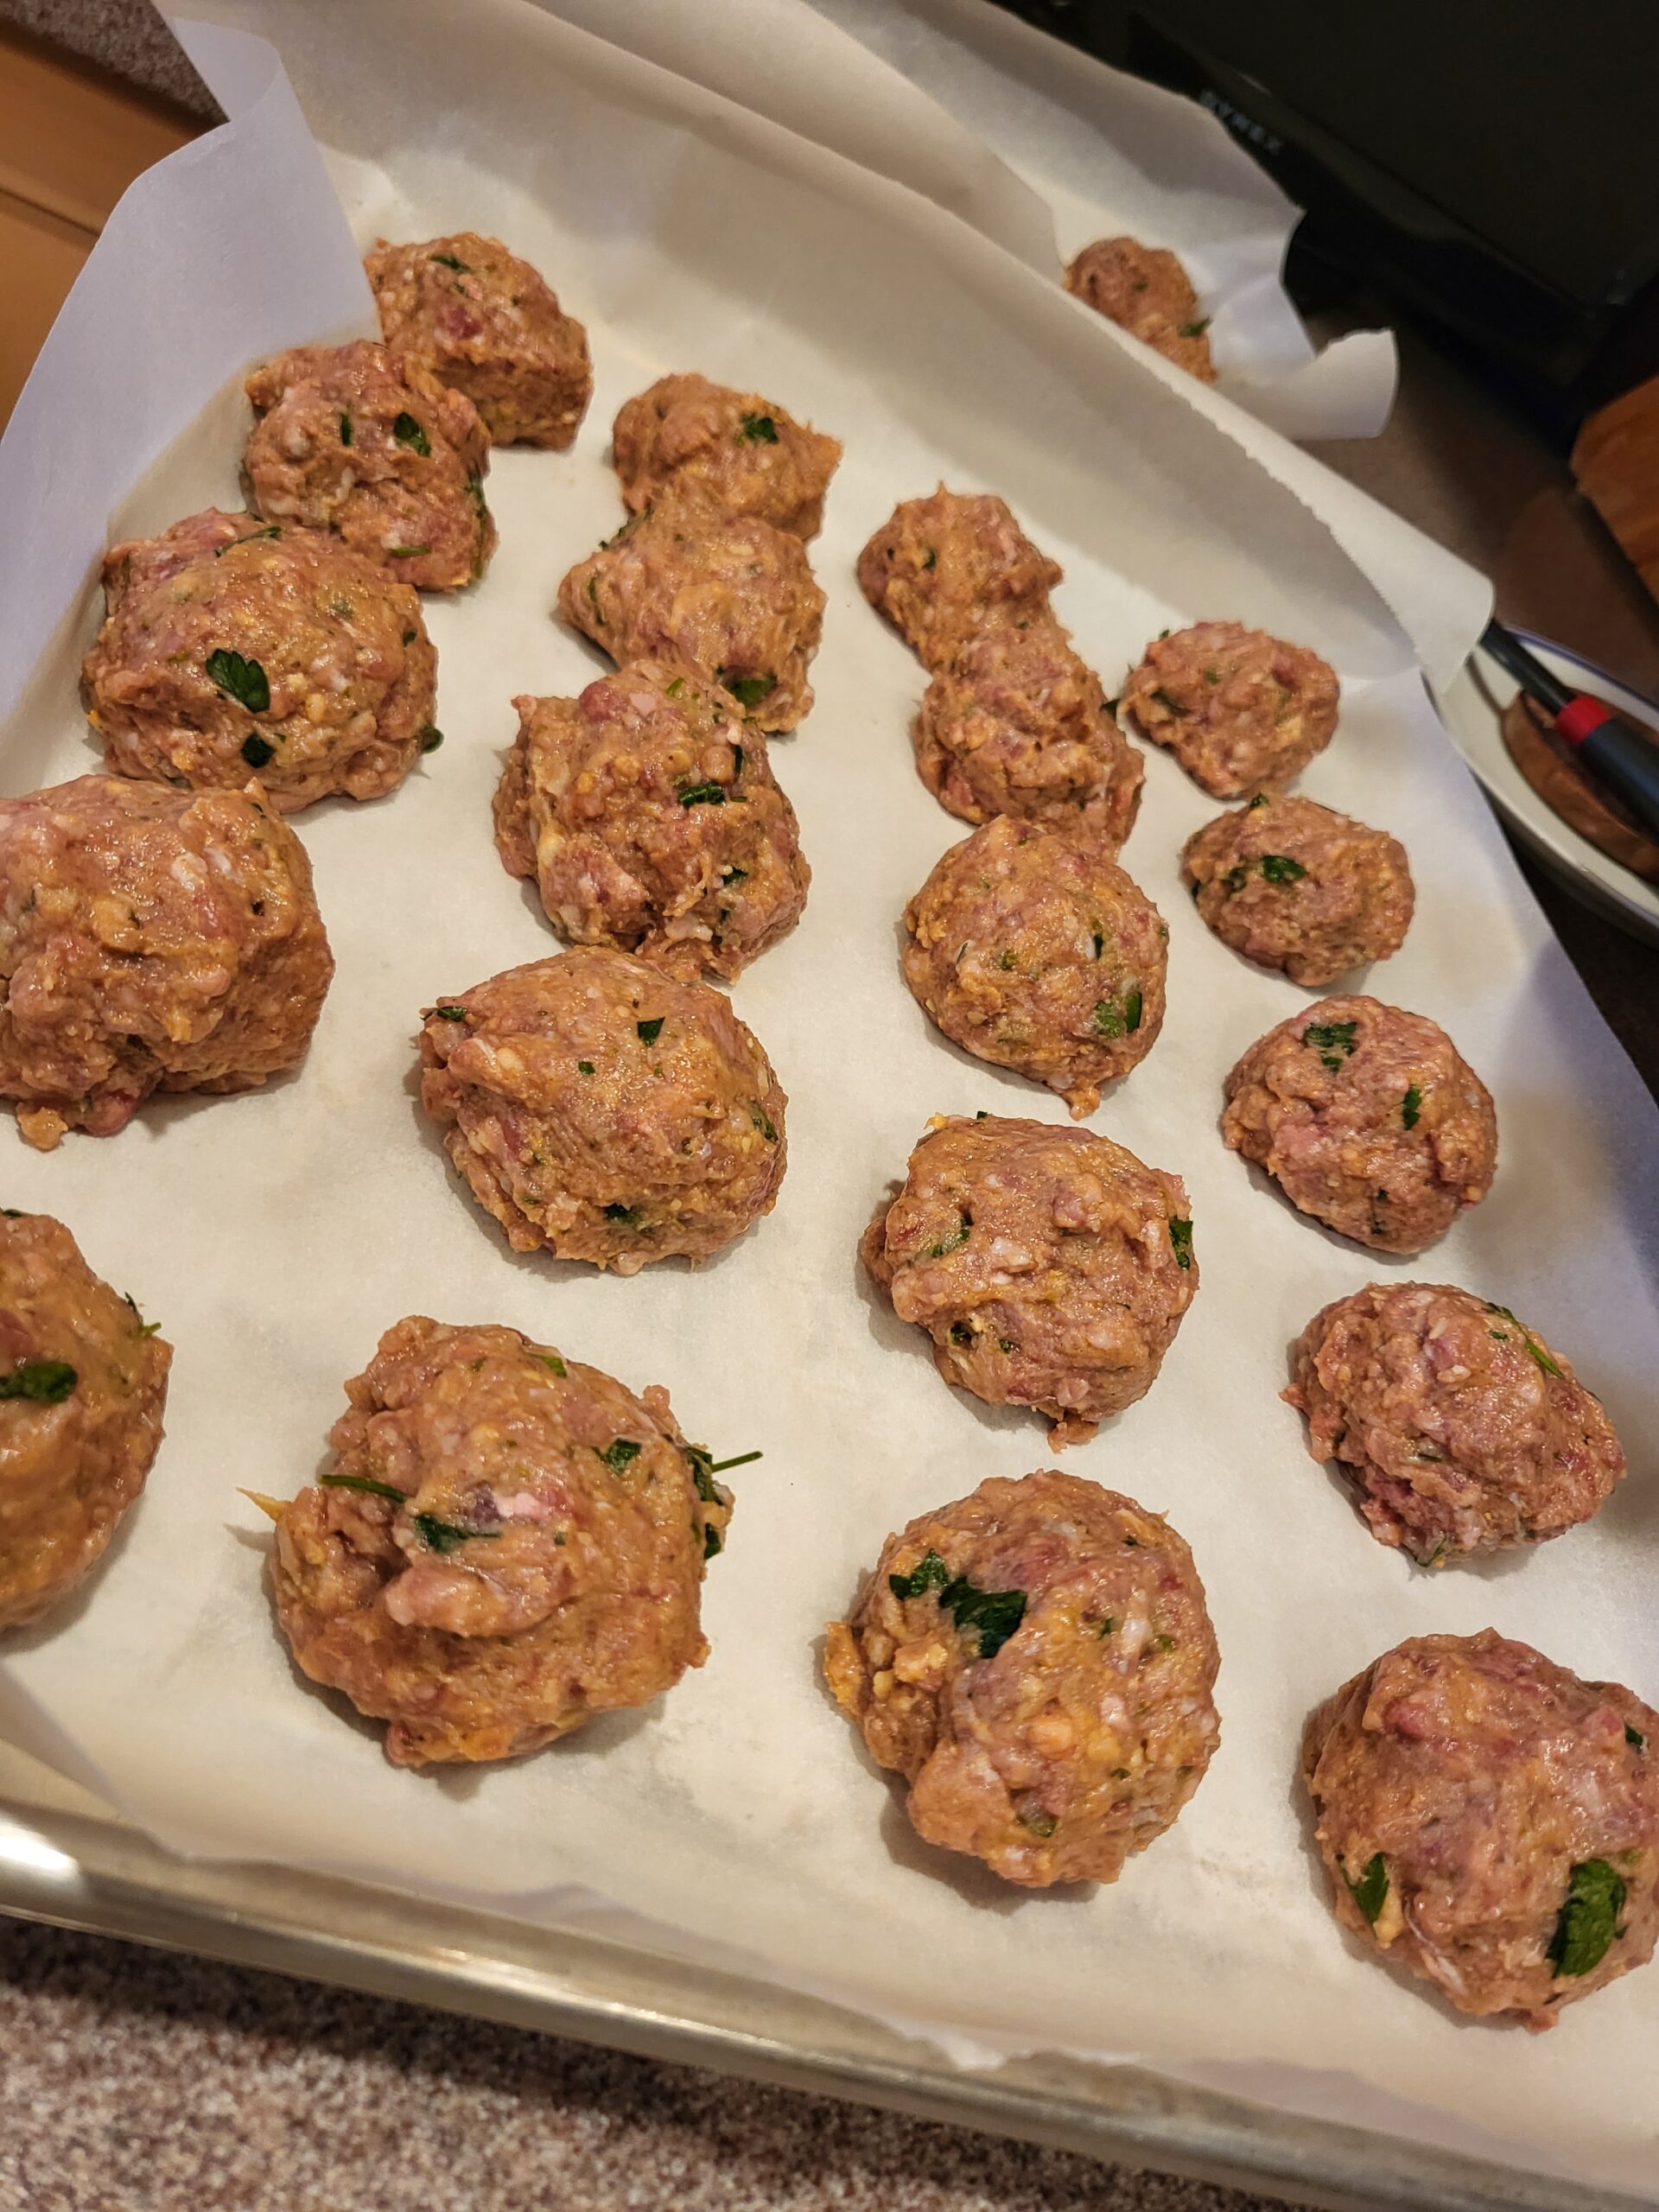
Aim for 1″ meatballs when you roll them out. They should hold their shape — if you find that the mixture is too wet, add additional dry bread crumbs. Keep a small dish filled with water nearby so that you can wet the palms of your hands periodically, to prevent the meat from sticking. Arrange meatballs on a lined sheet pan with just enough space in between so that they don’t touch.

Heat your oven to 375F. Cook the meatballs until they are browned, about 25 minutes. You can cut one in half to check that it is cooked through or to be super safe just prick a few with a meat thermometer to confirm that the internal temperature is at least 165F.
Transfer the cooked meatballs to a clean bowl and ladle in some of the sauce; toss to coat. (I actually just re-use the pot after draining my pasta, because it’s less to clean up later.)
Note – this is also how I control the final amount of sauce that will be tossed with the pasta in the next step. If you’re afraid of it being too saucy, reserve more of the sauce here. You can always add it back to the pot if you need more.
Part Three: Spaghetti & Meatballs
Now it’s time to bring this all together. Bring a large pot of water to boil and add a tablespoon or so of salt; enough that you can taste it in the water. Cook the spaghetti for two minutes shy of the package directions for al dente – usually this will mean around 10 minutes.
Before you drain the pasta, scoop out a half cup of the starchy water and add it to your sauce. Then toss the cooked spaghetti and sauce together for a couple minutes, until the sauce clings to the pasta.

Finally, add the sauced meatballs back to the pot. Finish with lots of grated parm.
I also like to drizzle some good olive oil over the top when plating the spaghetti & meatballs. Serve with more grated parm, of course!
Malinda F. Knowles
 So, how was your holiday weekend? It’s been extremely hot here in South Florida, 90s and above every day. Perfect beach weather. I went to Sassafras for dinner with my bae and the food, ambiance and company couldn’t have been more perfect. And this cutout dress from Sisterparty was perfectly cool enough for me to wear in this heat!


